

 Click it and Unblock the Notifications
Maa Mundeshwari Temple Photos

Photo Courtesy: commons.wikimedia.org

Photo Courtesy: commons.wikimedia.org
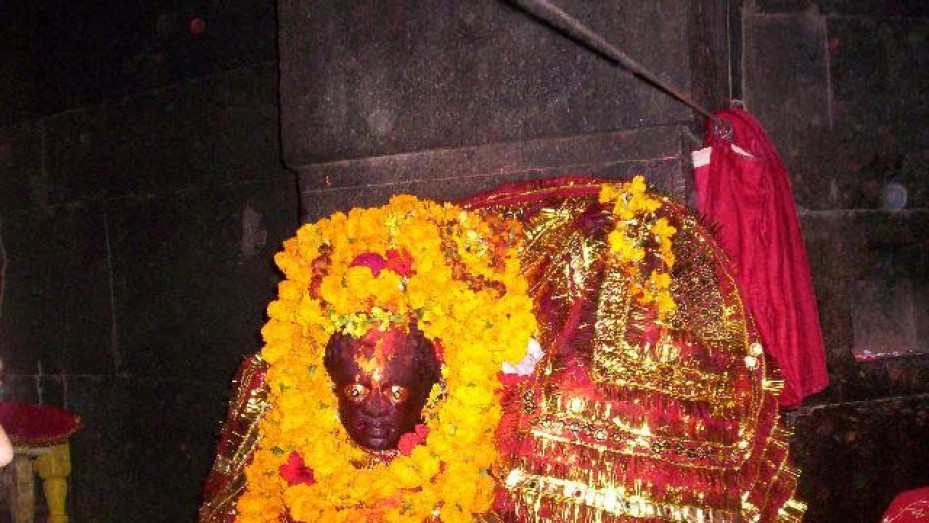
Photo Courtesy: kaimur.bih.nic.in
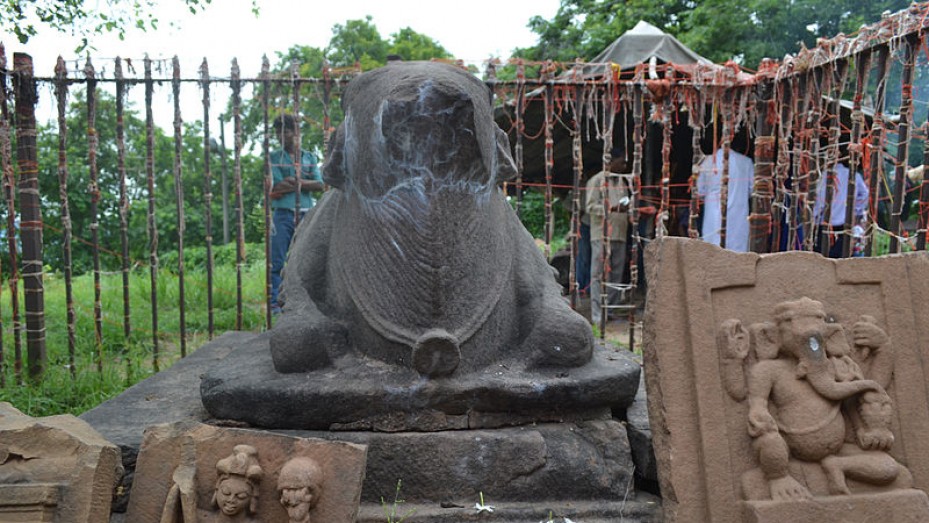
Photo Courtesy: commons.wikimedia.org
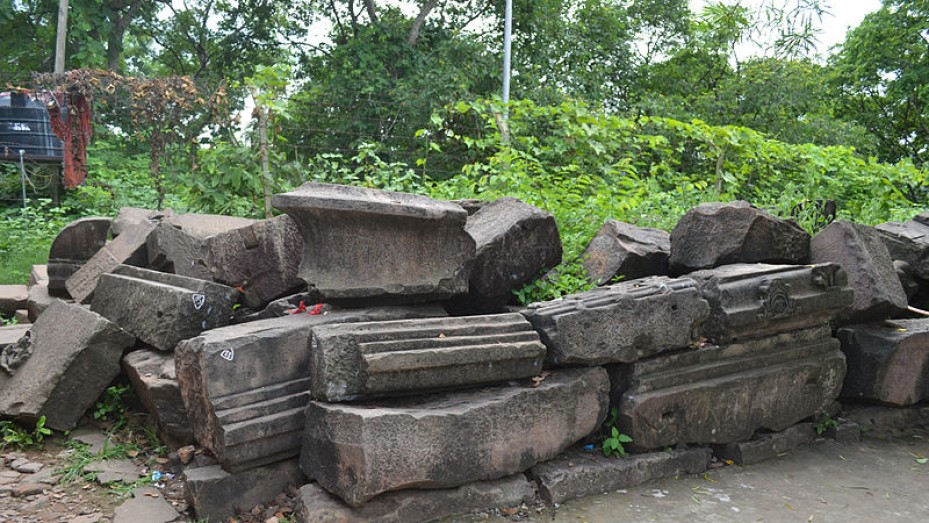
Photo Courtesy: commons.wikimedia.org
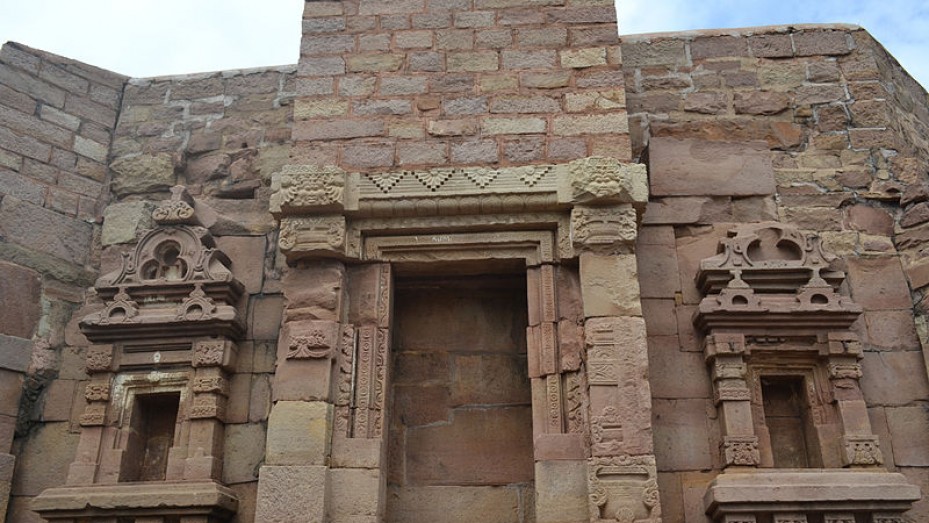
Photo Courtesy: commons.wikimedia.org

Photo Courtesy: commons.wikimedia.org
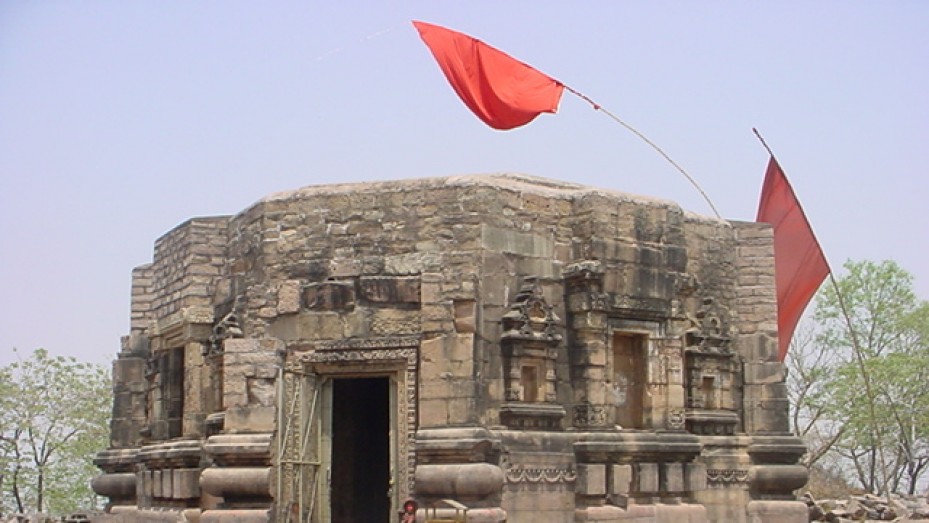
Photo Courtesy: commons.wikimedia.org